Add Z-Wave devices to HomeSeer
Add Z-Wave devices to HomeSeer
To add a new Z-Wave device to HomeSeer you need to go to HomeSeers web interface. You can access this by typing the IP address or hostname of your HomeSeer server. If you are using a Windows based PC as your HomeSeer server you can see how the find the IP address here.
Install the Z-Wave Plug-in
When you have accessed the page in your web browser, go to the menu “PLUG-INS” and select “Manage”.

All Installed Plugins are shown in this screen. In the middle of this page, expand the option “Additional Interfaces”, and “Lighting & Primary Technology” and find “HomeSeer Z-Wave”.
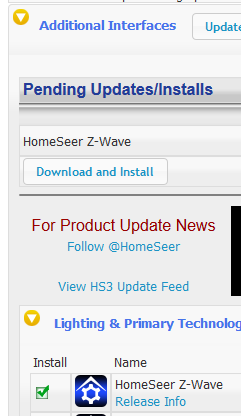
When you select “HomeSeer Z-Wave”. You will see it under the section “Pending Updates / Installs”. Now select “Download and Install”.
The overview of installed plug-ins will now show the Z-Wave plugin, make sure that is set to “Enable”.

Add new Z-Wave Network to HomeSeer
Now go to the drop down menu “PLUG-INS” in the top of the page and click “Z-Wave”, a page where you can create a new Z-Wave network will now show. Give your new Z-Wave network a name. In the filed “Interface model” select the interface you are using. The one I’m using is “Aeon Labs Aeotec Z-Stick“.
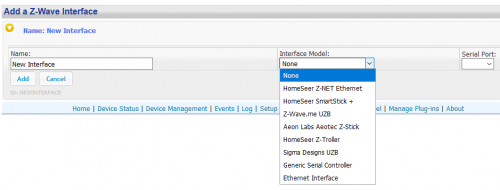
After selecting the interface for your Z-Wave network you need to select the serial port of your Z-Wave controller. Select the drop down menu “Serial Port”, it will only display the port numbers that are active on the HomeSeer server. Select the port for the Z-Wave controller and click “Add”.
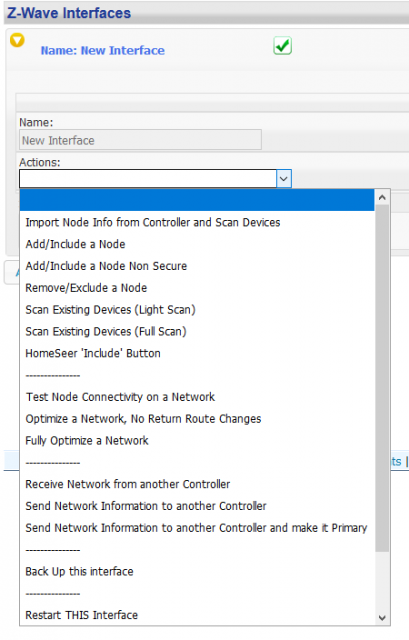
Add Z-wave device to Z-Wave Network
After clicking add you will see a new drop down menu called Actions. In this menu you can do a lot with your Z-Wave controller. It is the place if you need to optimize your Z-Wave network, after you have added a lot of Z-Wave devices, or if a devices is not working the way it should, you can re-scan the device from this drop down menu. We need to add a new device, so here you select “Add/Include a Node”.
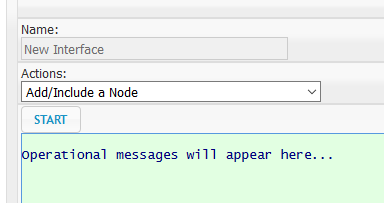
When the Z-Wave device is ready to be added/included to the Z-Wave network click “START”. This will set your Z-Wave controller in include mode, you need to do the same for your Z-Wave device. Typical it is done by pressing a button on the Z-Wave device, 3 times within 3 seconds.
ID numbers, also called Node numbers, is needed to configure the Z-Wave device. You can see this number in the window with Operational messages or go to the top drop down menu “PLUG-INS” – “Z-Wave” – “Node Information”. All HomeSeer included Z-Wave devices are listed here.
Find the one you just added and see if every thing seems okay.

Change name, floor and room
For editing the name, floor or room of your new Z-Wave device you need to go, to the home screen, you do this by clicking on “Home” in the top menu.
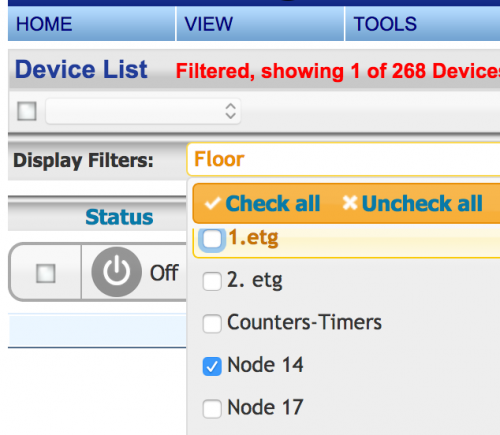
In the display filter select the node number of your Z-Wave device in the floor selection, select “check all” in room and device type.
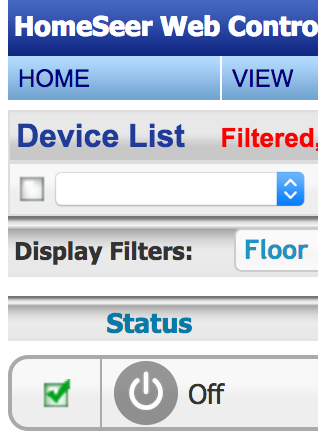
Check the box beside the Z-Wave device and/or the child devices.
In the drop down menu over display filters, if is passable to change floor and room. Select floor or room, and a pop-up windows will show where you can type the floor or room, or select exiting once. Select the right floor or room name and click “submit”. Do the same for the child devices of the Z-Wave device have any.
Remember to change the floor and room in display filters to the select floor and room name.
If there is more then one of the same devices in the same room. It can bee a very good idea to change the name of the device to something more user friendly. To do this click on the current name, a page will show where you can change “Device Name”, click on this text box.
Type your device name and click “Submit”.
You are ready to start added events based on info from this node or you can trigger events for this node. See the guide on how to make events here.
